
My kitchen has had more make-overs than I have had hot dinners.
After 9 years of painting and re-painting, I feel I have finally made it my own. It might not be everyone's cup of tea, but it is where I feel relaxed to have mine, and feel inspired to get creatively cooking.
When I moved in to my home in 2005, this is how the kitchen looked. It had been featured in the October 2005 House Beautiful publication. The interiors were all the previous owners style. Unfortunately they didn't turn off the stop cock link to the washing machine and when I came back from celebrating my move in, I found myself wading through a water logged kitchen floor. The positive being a good reason to replace the laminate flooring.
.jpg)
In 9 years my kitchen walls have been painted cranberry, light pink, yellow and mint green. That does not include the current shade.

Looking slightly sugary pink and very cluttered. Still, I liked it at the time. The laminate floor has been replaced with tiles.

Cupboard doors still on in this photograph, but surface space very crowded. No room for cooking! The back door has been replaced by a half window...(I will go into that later when I blog on my dining room)

Ok so what has changed...added hanging saucepans to save cupboard space. Glasses have been shelves and replaced by groceries. And of course, a different wall colour!
.JPG)
Cupboard doors taken off and a new place for recipe books and a cocktail cabinet. Still a very busy workspace though.
In July 2014, I was off to London to film Series 2 of the Great Interior Design Challenge, once the 3 day filming was over I spent the next four days with a creative cousin, friends and family visiting museums, exhibitions and the Anthropologie store.

I fell in love with this one tile and it became the new colour scheme for the kitchen. So it was back home to paint the walls.

A trip to the local paint shop

No need to clear the decks, mask anything off or stash away the glassware...just get stuck in!
With one wall nearly painted, I decided on a whim to rip out the units (they were covered in grease at the top and beyond a deep clean). So armed with hammer, chisel and lots of elbow grease I got stuck in.

One unit off the wall. The long central spot lighting was also taken down.

The second unit off, and reveals the history of paint jobs in my kitchen, some of which I take no responsibility for.

There was a lot of precarious balancing going on during this project as these units were very heavy and it was a 1 woman job. Lots of poly filler required for this wall!

Always time for a wee cup of tea and gaze out the window!

The deep cupboards were replaced with more of the drawers I had from the Belfast linen factory. Click here for another blog post on how I used these drawers. These were free of charge. I picked up a vintage first aid kit in the local car boot sale for £1

These glasses and cups are used so frequently they have no time to gather grease.

Who needs cupboards that go back for ages and you can't find a thing?

A gorgeous glass light which I picked up for free! My dad helped out with the wiring ... he is a whizkid.

2 Armagh apple boxes (my home County) for £20 drilled into the wall hold the plates, bowls, saucers and 'special coffee' glasses. £6 glass holder from ebay sits neatly underneath.

With all the perishables now visible on the shelf, it makes grocery shopping so much easier.

I need a kitchen with everything visible on close at hand, and love butcher's hooks for hanging utensils. Possibly influenced by my dad and granddads butchery business.

Wooden clipboards sprayed with blackboard paint make great menus shopping, or things to do lists.

New drawer handles from silver plated spoons found at an outdoor Edinburgh market.

Wow, what a mess! I love having dinner parties and home cooking, but I really am a very messy chef!
Every room in my house continues to evolve, items come and go, get modified and recycled. The kitchen was completed in August for a grand sum of £50, I forgot to mention the paint! It might not be to a lot of peoples tastes, but it is totally me.
An interior article in February 2015 Psychologies publication, called 'Brilliantly Flawed', writes of 'embracing imperfection in your home and with it, an authenticity'. The article is taken from the book 'Imperfect Home'. I have been doing this all my interior journey, and I love creating rooms and homes from a very small budget.

I should have really written this book!!
A few additions since the kitchen was (nearly) completed....

A Christmas Cockerel painting by my friend Grace. Love Grace's strong colours and bold brushstrokes.

Excuse the bad lighting. Once the tumble drier was sold this left an area for the coal bunker and other unslightly things. It needed to be screened off.
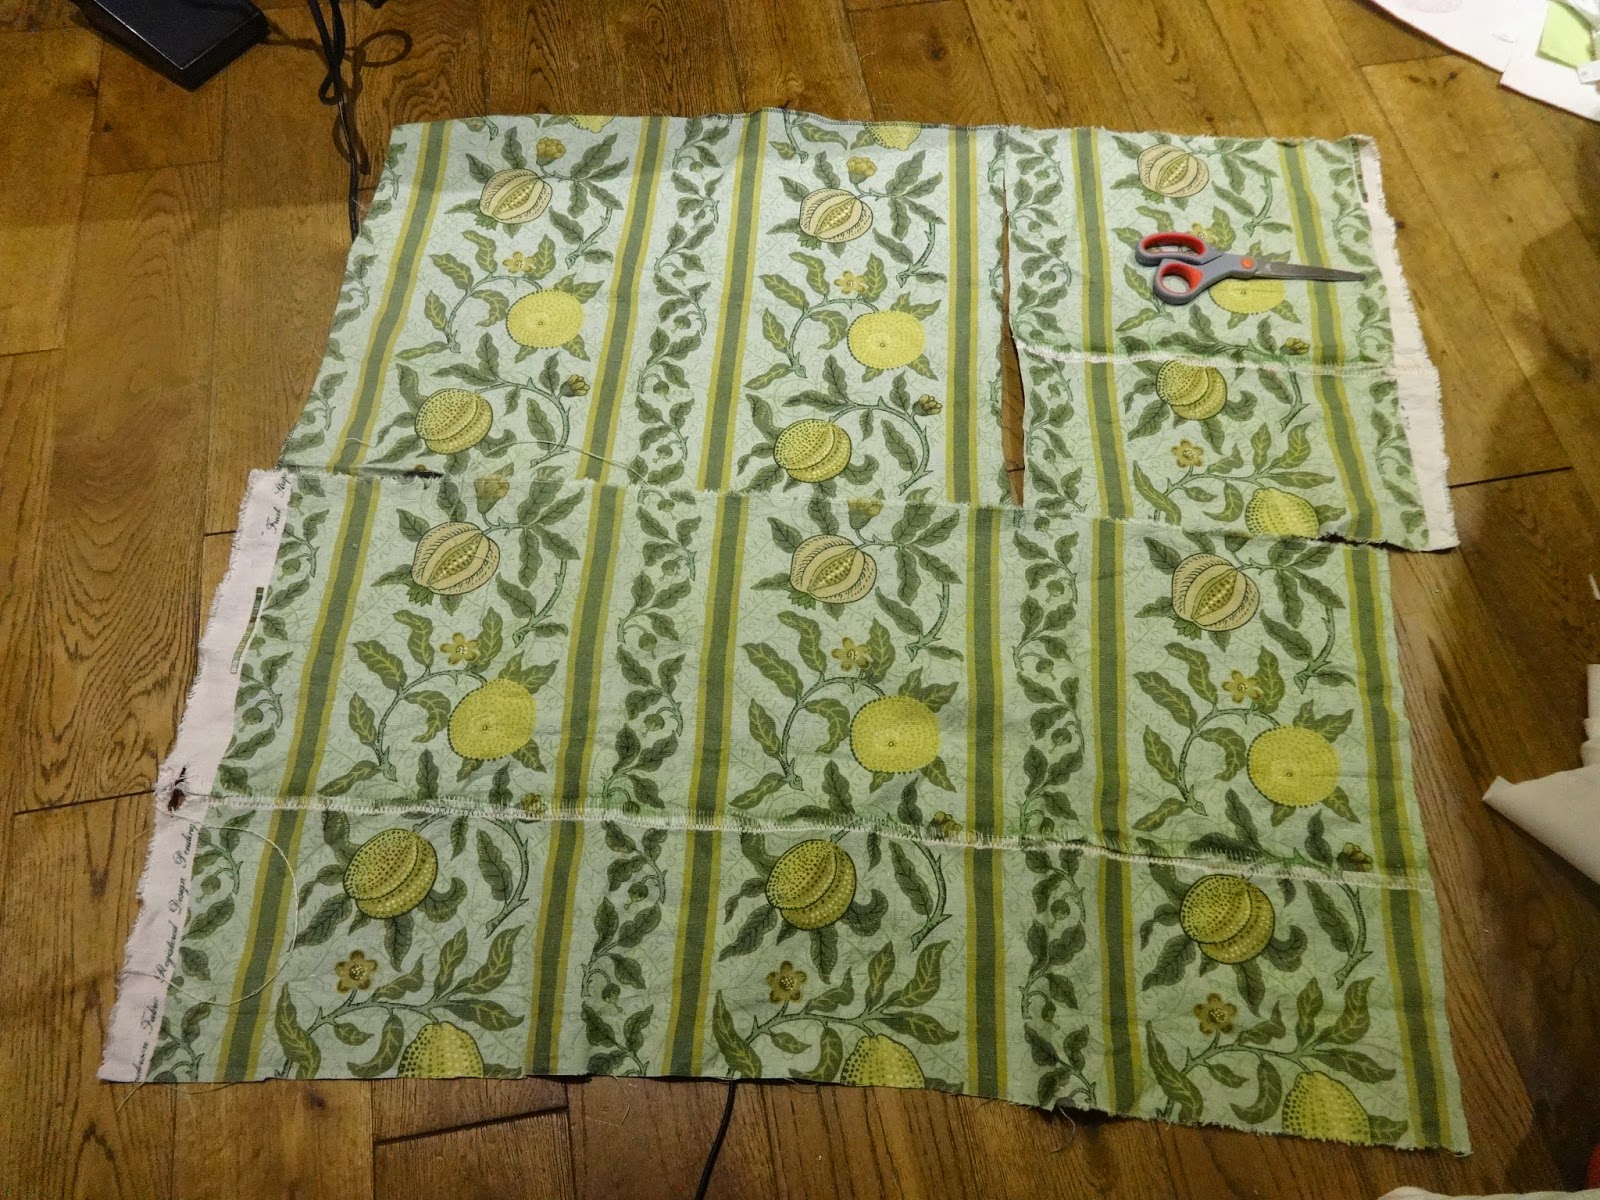
I had just enough William Morris print fabric to patch together and make a screen.

Looks so much better.
The only thing left to do in the kitchen is make a table, it has a table, it just needs to be made bigger! That will be in a few blogs time.
Till again, keep creating, crafting and DIY-ing
Christine x


